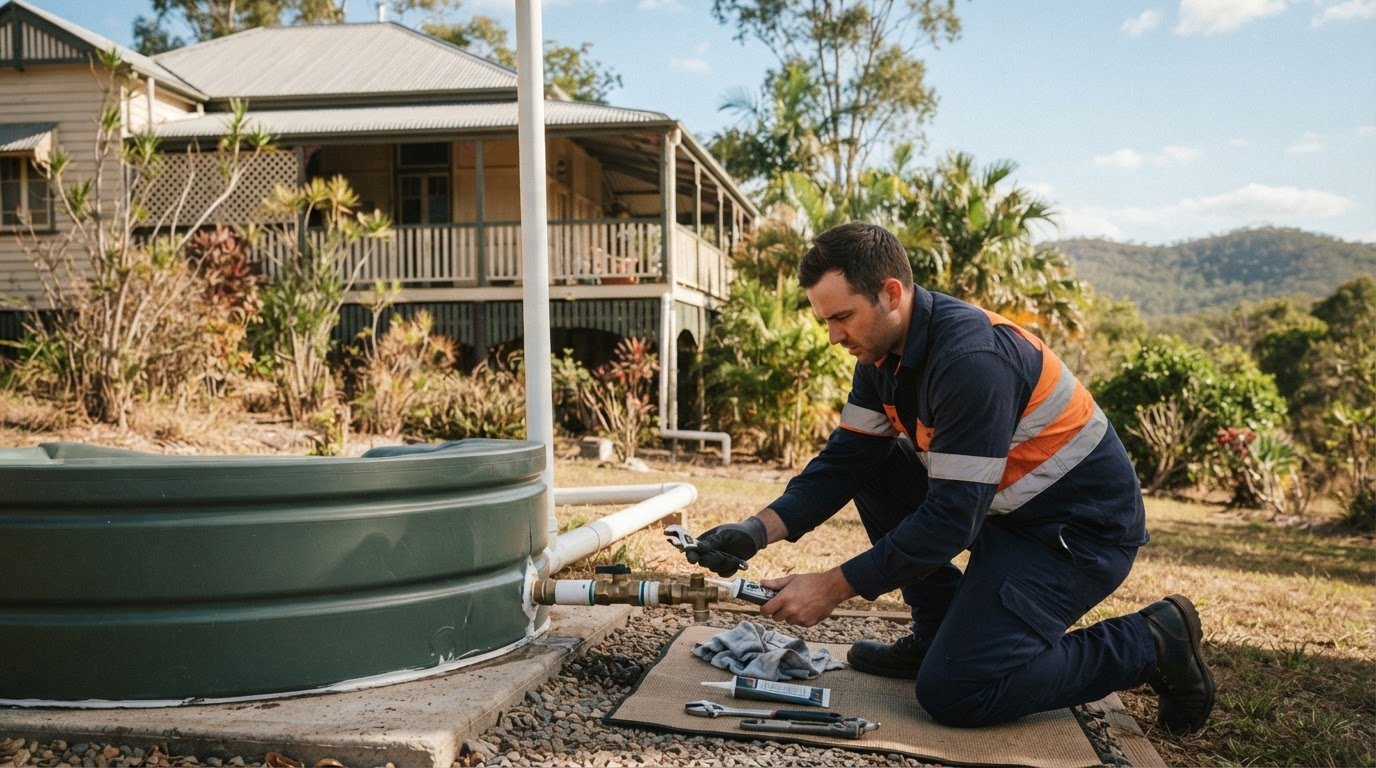
Cistern repair in Rockhampton for tanks and components
A leaking tank doesn’t always need replacing. Cistern repair in Rockhampton starts with identifying the tank material, the source of the leak and whether the damage can be repaired safely. For suitable plastic tanks, mobile repairs can use a welding process with the right heat, speed, weld material and equipment.
A leak or faulty fitting can disrupt water use and leave you wondering whether the tank itself has failed. The repair method depends on what’s damaged: a tank wall may need a different approach from an outlet, valve or other component.
This guide explains how tank repairs are prepared, when mobile poly tank repairs may be suitable and which components could need replacing. You’ll also learn what an inspection involves and how to understand the practical options before work begins.
Key Takeaways
- Identify the tank material and the source of the leak before deciding whether a repair or replacement is the practical option.
- Prepare a tank properly before repair work; emptying and ventilation need careful planning to support safe access.
- Mobile welding can suit some damaged poly rainwater tanks, depending on the location and condition of the damage.
- Inspect outlets, seals, valves and other fittings, as a leaking component may be replaceable without repairing the tank itself.
- For toilet cistern faults, note symptoms such as constant running or poor flushing to help pinpoint which internal part needs attention.
Water tank repair services in Rockhampton and surrounding areas
Tank and cistern faults need different checks. A leak may come from the tank wall, an outlet, a valve or an internal toilet part. Start by locating it and noting whether it continues when the fixture isn’t in use.
For toilet cistern repairs in Rockhampton, the right approach depends on the fault and the plumbing work involved. Plumbing work in Queensland must be performed by a plumber who is QBCC Licensed. Avoid altering water connections if you’re unsure what the work requires.
Hot water systems need separate attention from rainwater tanks and toilet cisterns. Check for drips around connections, inconsistent hot water, unusual noises or rust-coloured water. Maintenance advice includes annual servicing, while sacrificial anodes in hot water systems should be replaced every 5 years. These checks can help identify wear before it affects the system’s operation.
Hot water systems typically last between 8 and 15 years, depending on type, use and maintenance. In Rockhampton, Gracemere and Yeppoon, water quality and environmental conditions can also affect lifespan. For local information about plumbing in the area, see Rockhampton plumbing services.
Emergency callouts for active leaks
If a toilet cistern is leaking, turn off its isolation tap if it’s accessible and safe to reach. Note whether water is coming from the cistern, inlet connection or toilet base. If water continues escaping or reaches floors or walls, arrange prompt plumbing attention rather than leaving the leak unattended.
An emergency plumber can assess an active leak and help limit ongoing water escape. Describe where the water is coming from, whether the toilet still flushes and whether the isolation tap stops the flow.
Running cistern faults and repair signs
A running or constantly filling cistern may have a float that isn’t shutting off the inlet, a worn seal or a flush valve that isn’t seating properly. If safe, remove the cistern lid and check whether the float is caught. Don’t force brittle parts or adjust connections you can’t identify.
Call a professional if water keeps running after a simple visual check, the cistern body is cracked, fittings leak or flushing becomes unreliable. A damaged cistern may need replacing if a repair won’t restore a sound seal.
Repair timeframes and DIY risks
How long does toilet cistern repair take? It depends on access, the fault and whether the required component is available. Replacing a seal differs from repairing a cracked cistern or a leak involving concealed pipework, so the symptom alone doesn’t reveal the full scope.
DIY repairs can damage plastic threads, misalign seals or leave a connection leaking behind the toilet. Water may reach flooring or wall linings before anyone notices. Stop if the leak worsens and keep the area clear until it’s assessed.
Emptying and ventilating tanks before repairs
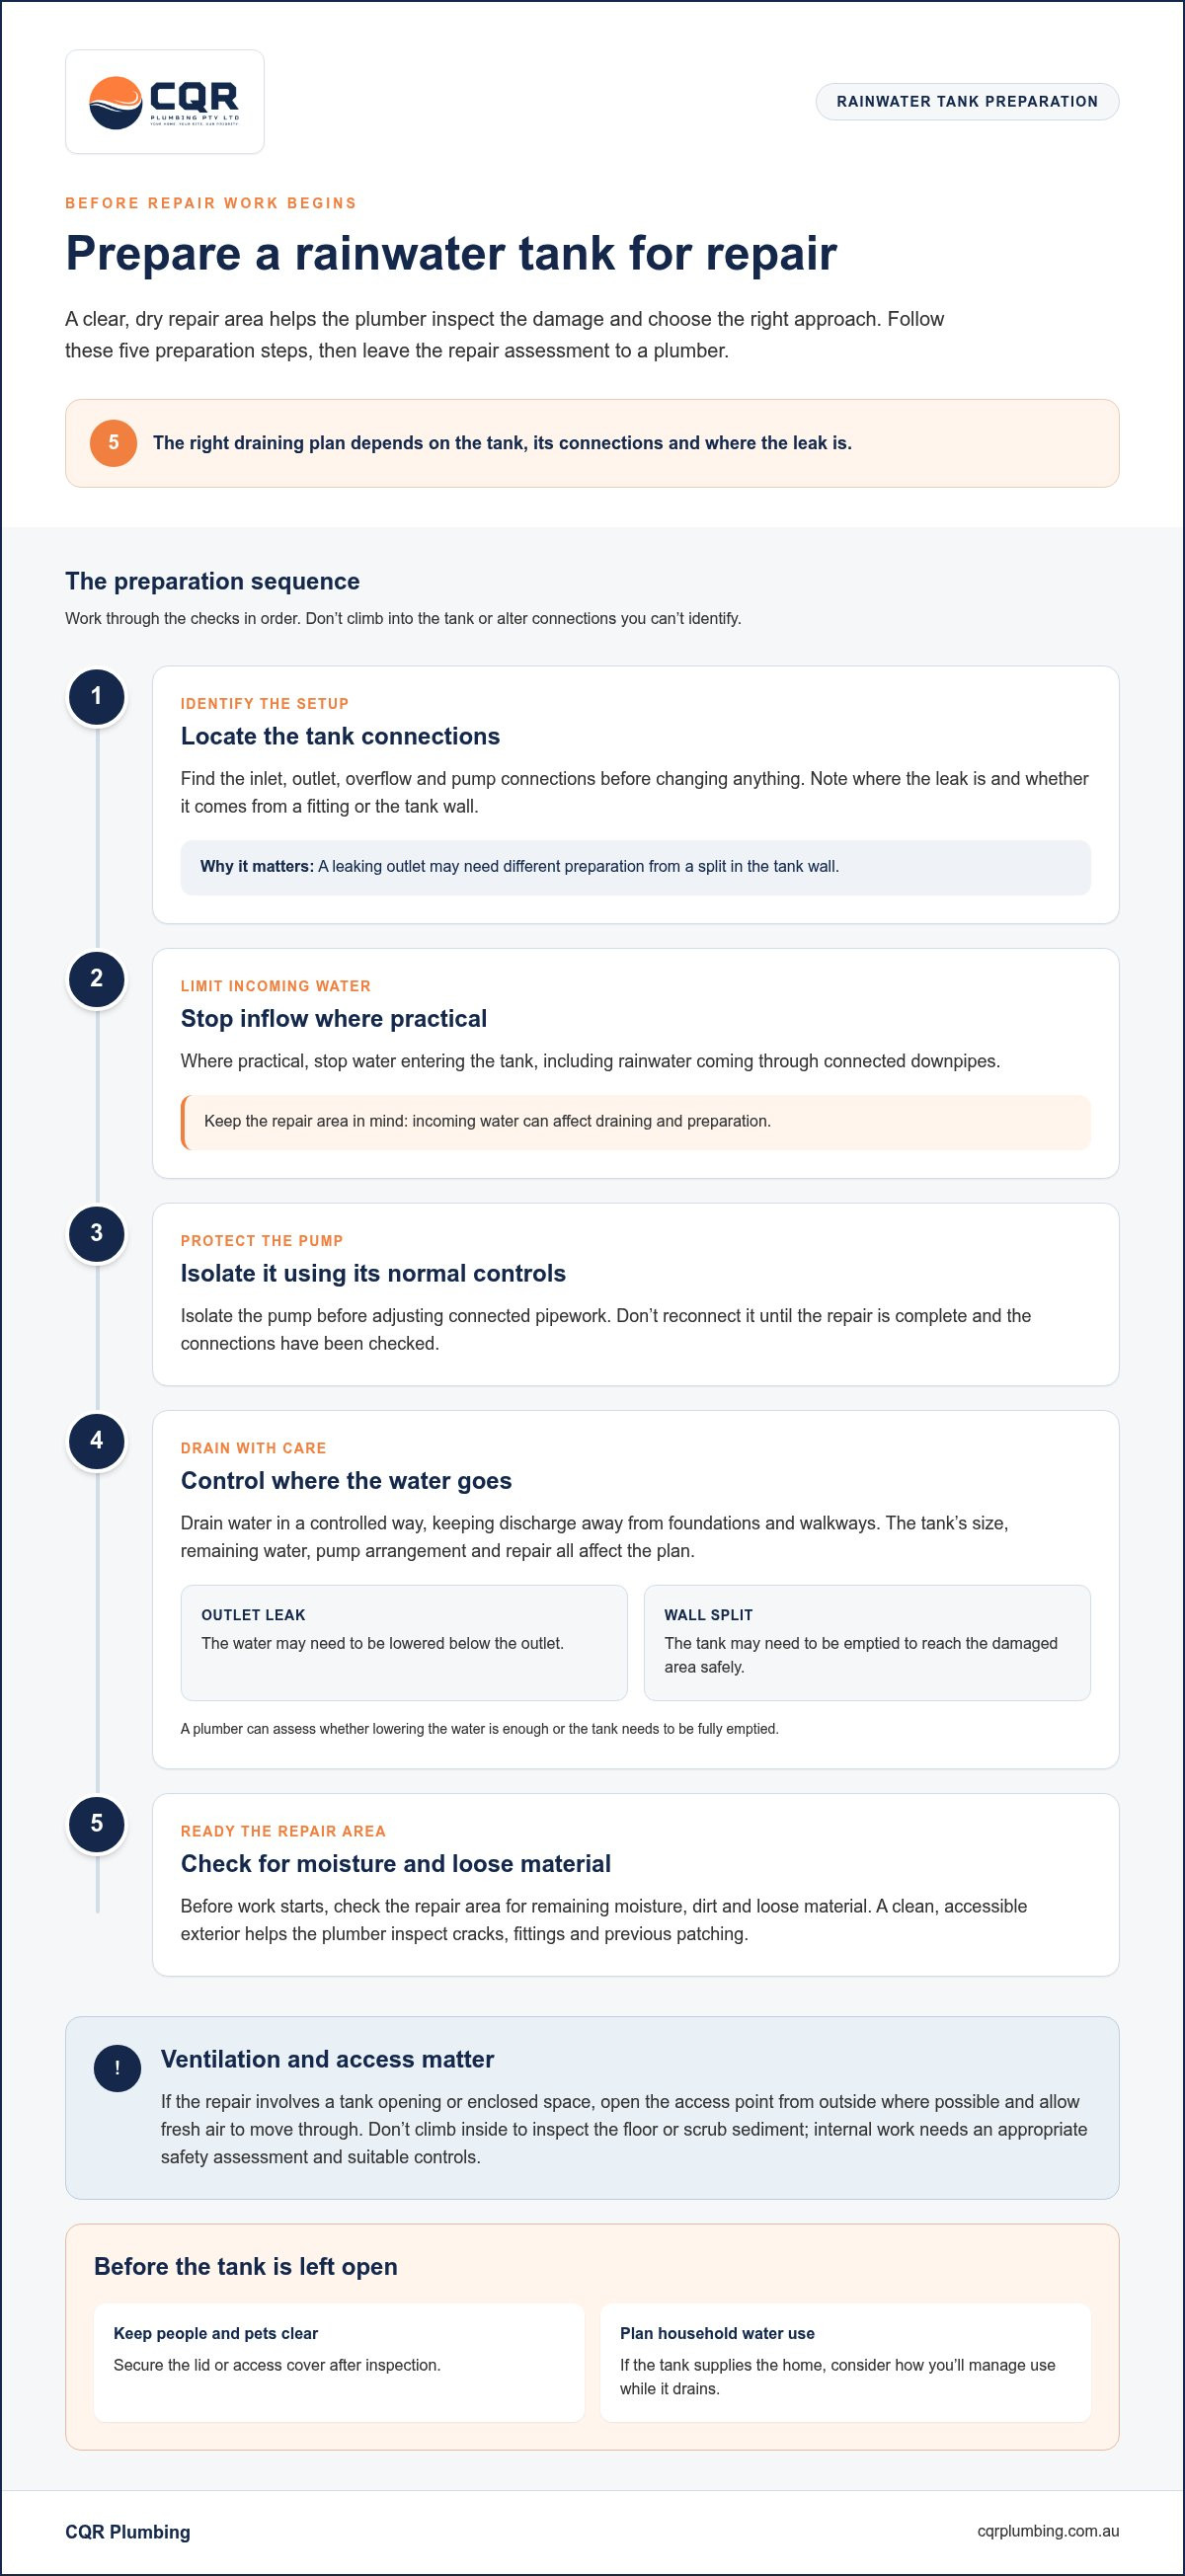
A rainwater tank repair needs a clear, dry work area around the damaged section. Water pressure, sediment and moisture can affect access and preparation. Before work starts, identify the tank material, leak location, inlet, outlet and connected pump. A leaking outlet may need different preparation from a split in the tank wall.
Emptying a tank is not simply a matter of opening a tap. The tank’s size, remaining water, pump arrangement and intended repair all affect the process. A plumber can assess where water should drain and whether the tank needs to be fully emptied or lowered below the repair point. Avoid releasing stored water where it could pool near buildings, electrical equipment or neighbouring property.
- Locate the tank’s inlet, outlet, overflow and pump connections before changing anything.
- Stop incoming water where practical, including rainwater flowing from connected downpipes.
- Isolate the pump using its normal controls before adjusting connected pipework.
- Drain water in a controlled way, keeping the discharge away from foundations and walkways.
- Check the repair area for remaining moisture, dirt and loose material before work begins.
These steps help keep water from reaching the repair surface during preparation. For example, a low outlet leak may continue while the tank holds water above that point. A plumber can assess whether draining below the outlet is enough or whether the tank needs emptying to reach a wall split safely.
Ventilation matters if a repair involves a tank opening or enclosed space. Open the access point from outside where possible and allow fresh air to move through the opening. Don’t climb inside to inspect the floor or scrub sediment. A tank interior can present access and air-quality hazards that aren’t apparent from the hatch. Internal work needs an appropriate safety assessment and suitable controls.
Keep people and pets away from an open tank, and secure the lid or access cover after inspection. If the tank supplies household water, consider how you’ll manage use while it drains. Don’t reconnect the pump until the repair is complete and the connections have been checked.
Preparation also helps clarify the repair scope. A clean, accessible exterior lets the plumber inspect cracks, fittings and previous patching before selecting a method. If water is still leaking, describe the leak’s position and whether it changes as the tank level falls. For help arranging an inspection, request a plumbing quote with those details.
Mobile poly rainwater tank repairs around Rockhampton
Mobile repair can be practical when a poly rainwater tank has localised damage and clear access. The repairer first identifies the tank material, leak position and condition around the damaged area. A split near a fitting needs a different assessment from a puncture on a broad, accessible wall. Repair may be unsuitable if the damage is extensive or the tank has lost its shape.
Poly tanks are repaired by welding compatible plastic, not simply covering a leak. The method for plastic tanks uses suitable heat, speed, weld material and specialised equipment. Extrusion welding feeds a continuous stream of welding material into the repair. The equipment and technique need to suit the tank plastic, so an improvised heat source can damage the surrounding surface instead of creating a sound join.
Before welding, the repairer examines the damage and prepares the surface. Dirt, moisture, algae or old patching can interfere with the join. The damaged area may need cleaning and preparation so the welding material can bond with the tank wall. The repairer also checks whether stress around an outlet, support or base could keep pulling the split apart after the work.
For a Rockhampton property, access influences whether a mobile repair is workable. Check whether the tank sits behind a narrow gate, beneath low branches or close to a fence. Tell the repairer where the tank is, what it stores and whether a pump or pipework obstructs the damaged area. In Queensland, a rural tank beside a shed may be easier to reach than a tank squeezed between a house and boundary fence.
- Note whether the leak is at a fitting, seam or tank wall.
- Photograph the damage from a safe position before the visit.
- Clear loose items around the tank without shifting connected pipework.
- Point out previous patches and any changes in the tank’s shape.
After welding, the repair should be checked for visible gaps or further seepage. A controlled refill lets the repairer inspect the area as the water reaches it. The tank’s water-storage needs matter too: if it supplies garden use or household systems, keep the pump and connected equipment protected during repair and testing.
Mobile welding is one repair option, not a fix for every tank. A deteriorated wall, multiple spreading splits or damage around a heavily stressed base may call for a different decision. An inspection should clarify the damage, the proposed repair method and what to monitor once the tank returns to service.
In one repair example, a large repaired hole was reduced to an 80mm flanged outlet to suit pipework. This illustrates that a repair may involve reshaping the opening, rather than only sealing its edges.
Before work begins, explain how the outlet connects and ask whether the proposed finish will accommodate the existing arrangement. After the repair, inspect the join and surrounding wall during a controlled refill, watching for seepage or renewed stress near the outlet. If the repair changes how pipework meets the tank, confirm the connection is secure before relying on the tank again.
Replacing tank components when needed
A tank can leak at a fitting even when its body is sound. Inspect the connection and surrounding surface before deciding what to replace.
Repair or replacement decisions
Cistern repair or replacement: which is better? Repair suits an isolated fault, such as a worn seal or loose fitting, when the tank body is sound. Replacement may be more practical if the cistern is cracked, badly deteriorated or repeatedly leaking at several points. Check whether the damage affects the tank itself or a replaceable component, then compare the repair scope with the condition of the whole unit.
For a rainwater tank, inspect the inlet, outlet, tap, overflow and connected fittings. A leak at an outlet may come from its seal or connection rather than the poly wall. If the surrounding plastic is distorted or cracked, replacing only the fitting may not resolve the leak. A repairer assesses the contact surfaces and how the fitting sits before selecting a replacement part.
Compatibility matters. A new fitting needs to suit the tank opening and connect properly with existing pipework. Take a clear photo of the leak and note which connection is affected. For properties around Yeppoon, this information can help distinguish a tank-component fault from a leak in downstream pipework.
Common faults and repair options
A leaking cistern or faulty flush button needs a different check from a rainwater tank outlet. Turn off the toilet’s isolation tap if accessible, then check whether the button is stuck or its mechanism appears displaced. Don’t force the button or overtighten plastic parts. A plumber can inspect the flush mechanism, seals and inlet valve, then replace the faulty component or cistern.
Common tank-component faults include worn washers, damaged seals, loose connections and a faulty tap. A blocked inlet screen can also affect water flow, while an overflow that continually discharges may point to a filling problem. Note where water appears and whether it happens during filling, storage or use. These details help narrow down which component needs attention.
After replacing a fitting, check the connection as the tank fills and water pressure returns. Watch the joint for seepage, and check the overflow and tap separately. A connection that looks dry at first may still leak once the water reaches its normal level. Don’t cover the joint or reconnect equipment until the area has been inspected.
For a toilet, a flush button that no longer operates may need adjustment or a replacement linkage or flush assembly. If the porcelain is cracked, replacement is generally more suitable than trying to seal the cistern. A QBCC Licensed plumber can explain which part has failed and provide a clear scope before starting work. Keeping the old component available can also help identify a compatible replacement.
Inconsistent water temperature, reduced pressure, unusual noises, visible leaks and rust-coloured water can indicate that a hot water system needs replacing. If hot water repairs become frequent or costly, replacement may be more practical. Consider these signs when deciding whether to repair or replace the system.
Common toilet cistern problems and repair options
A toilet that keeps running, fills slowly or leaks at the base needs a closer look. The sound and location of the water often help identify the fault.
If water trickles into the bowl after flushing, the flush valve may not be sealing properly. A worn seal, misaligned valve or loose button linkage can keep water moving from the cistern. Lift the lid carefully and check whether the button or mechanism is caught. Don’t force plastic parts, as they can crack or shift out of place.
A cistern that refills repeatedly may have a float or inlet valve problem. The float controls the water level, while the inlet valve stops filling once that level is reached. If the float catches against the cistern wall, gently repositioning it may help. If the valve continues admitting water, it may need cleaning or replacement.
- Water running into the bowl: inspect the flush seal and valve position.
- Constant refilling: check whether the float moves freely and shuts off filling.
- Water around the base: dry the floor, then watch for fresh water after flushing.
- Weak flushing: check the button linkage and whether the cistern fills normally.
- Water at the inlet connection: look for a drip around the hose or isolation tap.
A damp floor doesn’t always mean the cistern has cracked. Dry the area with a cloth, then see whether water returns after a flush. A leak at the inlet points to a connection, while water emerging from the cistern body may indicate a crack. Water on the outside can also come from condensation, so check whether it forms evenly across the cistern rather than at one joint.
Before inspecting, turn off the isolation tap beside the toilet if it’s accessible. Flush once to lower the cistern water level, then check the visible parts without removing pipe connections. If the tap won’t turn, water continues escaping or the porcelain is cracked, stop and arrange a professional inspection. A cracked cistern can worsen if pressure is applied.
Repairs may involve adjusting the float, replacing a seal, fitting an inlet valve or changing the flush mechanism. The correct part depends on the cistern design and connection points. A repairer can test the refill and flush cycle after the work, checking for seepage at the base, inlet and bowl. If you manage a rental, record the symptoms and affected toilet before arranging access.
CQR Plumbing: Hot water system installations
CQR Plumbing provides Tap and Toilet Servicing for faults such as a leaking toilet cistern, faulty flush button or running toilet. If the cistern is cracked or a component won’t seal properly, servicing can help determine whether repair or replacement is appropriate.
For a separate hot water issue, CQR Plumbing also provides Hot Water System Repairs and hot water system installations. If a system has recurring faults, an assessment can help determine whether a repair or new installation best suits the household’s hot water needs.
Contact CQR Plumbing to discuss toilet servicing, hot water repairs or an installation for your property.
Take the next step with a clear repair plan
Cistern repair in Rockhampton starts with describing what’s happening, not guessing which part has failed. Note where water appears, whether the toilet keeps refilling and whether the leak changes after flushing. For a rainwater tank, record the damaged area and whether it’s a fitting or tank wall. These details help clarify the issue and the work to assess.
If the problem is with a toilet, CQR Plumbing provides Tap and Toilet Servicing. For a separate drainage fault, Blocked Drain Repairs may address the issue affecting your plumbing. Keep the affected area accessible and avoid forcing fittings or buttons while you arrange the next step.
A straightforward description of the fault helps establish what needs attention. Outline the symptoms and property details when making an enquiry, then discuss the appropriate work before it begins.
With the right information and a clear scope, you can make a practical repair decision with confidence.
Frequently Asked Questions
What cistern repair services are available in Rockhampton, QLD?
CQR Plumbing provides Tap and Toilet Servicing in Rockhampton, including help with toilet cistern faults. To enquire, describe the symptom, such as water continuing to run after flushing or a button that won’t operate. Mention whether the property is in Rockhampton, Yeppoon, Gracemere, Emu Park or the surrounding Central Queensland region. This helps clarify the location and issue before work is discussed.
How should I assess Rockhampton plumber reviews and cistern repair warranties?
Look for reviews that describe relevant work, clear communication and how the plumber explained the repair, rather than relying on a rating alone. Reviews aren’t proof of a particular repair outcome. For warranty matters, read the written terms for the specific work and parts, including what they cover and any conditions. CQR Plumbing provides transparent scopes of work and clear pricing before proceeding, so you know what repair is proposed.
Disclaimer
The information in this article is provided for general educational purposes only and should not be relied upon as professional plumbing, gasfitting, or legal advice. Every property and plumbing system is different, and the information may not be applicable to your specific circumstances. CQR Plumbing recommends that all plumbing and gasfitting work be inspected and carried out by a licensed professional in accordance with applicable Australian Standards and Queensland regulations. If you require advice specific to your property, please contact CQR Plumbing for an assessment.